I haven't been tinkering much with them in a year, but in the past few weeks, I've gotten back into the project. Modernized a few more cables, sorting out what works, what needs fixing...
I mentioned in my previous post I have a few with dead capacitors. I tried to use a M.M.C. of modern caps, but it just didn't feel right.
So this week was apparently capacitor week on hack-a-day (/hat-tip Rob for sending all the links my way)
http://hackaday.com/2011/05/09/roll-your-own-capacitors/
http://hackaday.com/2011/05/10/roll-your-own-capacitors-high-voltage-edition/
http://hackaday.com/2011/05/12/plastic-plate-capacitors/
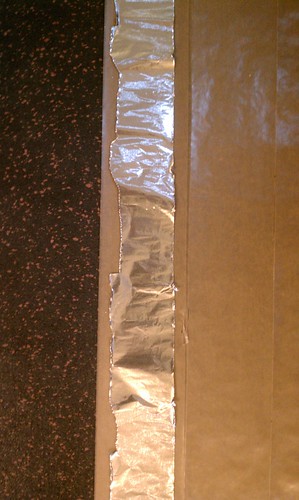
So I had a dud capacitor out of a vintage violet ray, so I decided to tear it apart and see how simple it was.


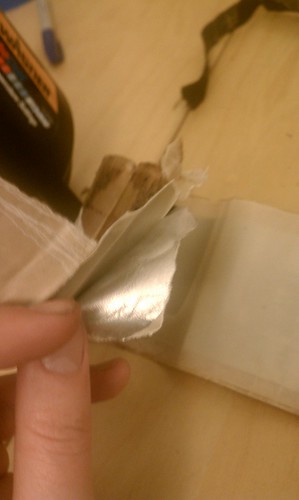
When I unrolled the whole thing, it was very long.
2.5 inches by 12 feet (Foil) (the wax paper was about 3.25 inches wide)
Seemed simple enough. I mean come on... They were doing this crap 100 years ago.
There was also a nifty blurb about capacitors in this excellent website.
The blurb talks about using modern microwave capacitors. I looked around the lab and my apt for a spare, but I'd purged all mine, and all the ones from the lab look like they were sold at the garage sale. So I figured why not do it fully old-skewl... with wax paper and foil.
I hit up QFC, purchased a few rolls of waxpaper, and a roll of aluminium foil.
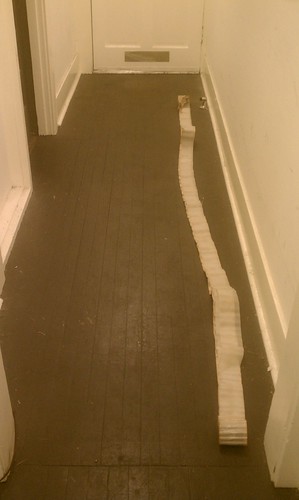
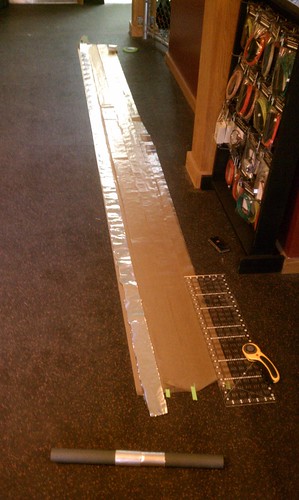
I rolled about 13 feet of wax paper out on the ground. Then 2 more sheets on top of the first. I measured out 3 chunks of 3.25 inches and cut them with a super sweet pizza-cutter like device.
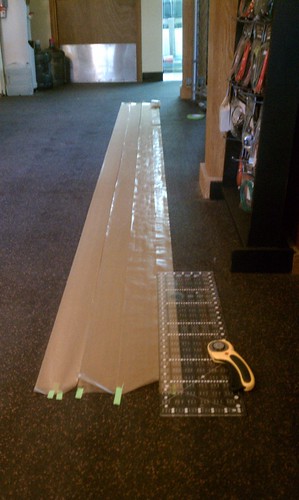
I had previously rolled a little over 12 feet of foil onto a tube and cut it with an exact-o in 2.5 inch segments.
I wouldn't recommend it. I'll find a much better way next time. There were lots of tearing issues that made my 2.5 inch x 144 inch foil less than perfectly rectangular.
But all-in-all, it worked well enough.
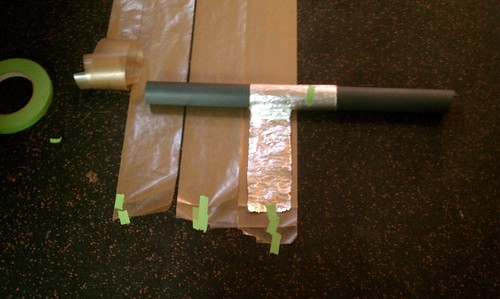
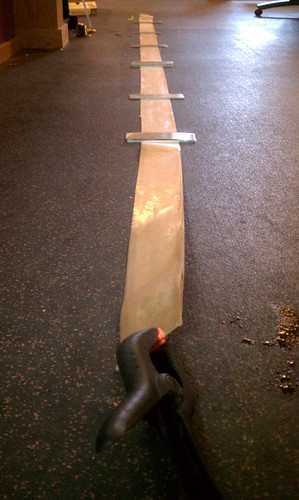
Eventually, I got all the layers in a stack, weighted down with chunks of metal.

3 layers of wax-paper
1 layer of aluminium foil
3 layers of wax-paper
1 layer of aluminium foil
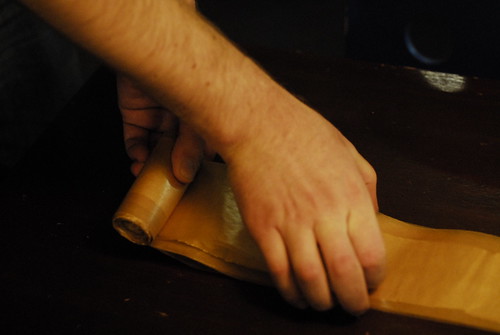
Then I started rolling, using a clamp to help me occasionally.
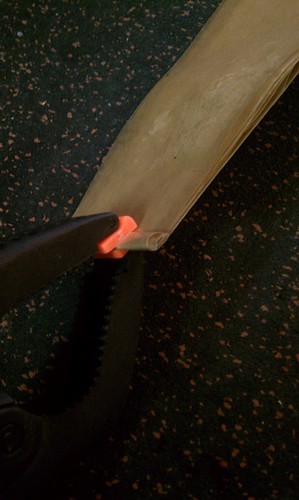
I ran into some serious troubles with the rolling process. All that waxpaper gets really slippery, the foil didn't want to keep centered... I was so focused on the roll, and how to fix it, I didn't get any pictures... thankfully Aimee was around!
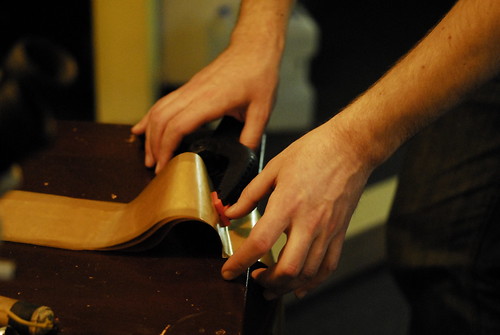
The last few feet couldn't be saved, and I ended up chopping a bit over 2 feet off, and finishing with 2 rolls of electrical tape.
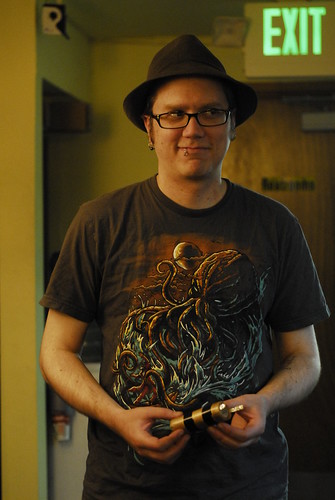
Here is me with the finished wrap trying to put on my best why-are-you-pointing the-camera-at-me?-face
Then Matt arrived with his plastic:
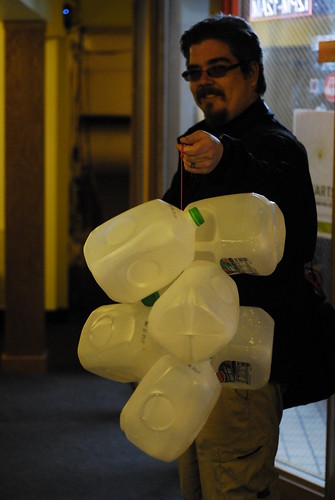
Yeah... supr-sekrit-project, I can't speak of it in this public place.
So anyway, we fired up the fondue pot of paraffin (old pictures, just showing what else Matt uses it for), and made sure the vacuum chamber was ready.
When the wax was liquid, and about 150 degrees F, a bunch got scooped into a glass and went into the vacuum chamber.
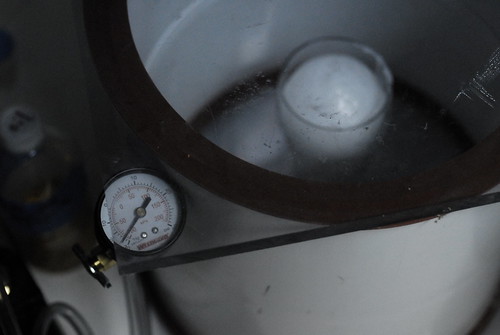
It was in there for 4 or 5 minutes. I got some video I might put on youtube later.
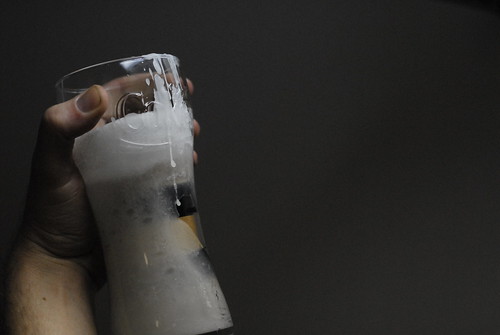
When it came out, it looked like this:
We tested the capacitance. it was reading about 133 nF. I was shooting for anywhere in the 80-150 nF range, so this looks promising.
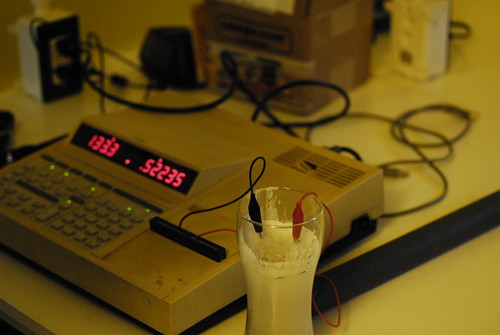
I'll install it into my violet ray sometime soon and see what happens.
I did all of this down at Metrix (Thanks Matt and Aimee for being awesome! more great photos from their stream here).